Sunday, September 23, 2012

Dining room progress - My decoupage window (aka I got a little sidetracked...)

Ok so I havent posted anything for a few weeks now.  Some of that is because of just being crazy busy lately, but mostly it's because starting the dining room project caused such a huge mess, that my husband finally became convinced we needed to start and finish the basement reorganization project.

I've still been working on the dining room, but my hours and efficiency has been greatly reduced and progress is slow.

I am super happy to say that the little arched window project is done though and I love how it turned out!

If you recall, this was the window originally
Very very PINK and uninspired if you ask me....
Now the walls aren't totally done yet...they are just painted, I have yet to put up any trim or anything so I don't have a full on picture of the window that I feel is good looking enough to show, but here is the window itself
I used a few things to get this metallic look on the window, the first was this relatively inexpensive silver mesh fabric from Jo-Ann Crafts
As well as some metallic ribbon also from Jo-Ann
And a ton of decoupage glue such as Mod Podge or whichever you prefer.

Most of which seemed to end up on me......

Ok, so more pretty pictures!


Well that's all for now!  If you like my window, just wait until you see what else I have in store for this room!  I hope to finish within the next month or so (Yes...I know that's long but I have a lot of small detail things to accomplish and I pretty much only get naptime to work on it lol.)

Keep checking back!  I'll be posting about the basement project soon enough as the second set of shelves is going in today.


Monday, August 20, 2012

Dollar Tree Wedding - Red and Gold Autumn Romance


My friend is getting married next year and she seemed a bit overwhelmed with all of the planning and decorating and that other wonderful whirlwind of decisions that come along with planning an event. She's also on a budget. I offered to help out by coming up with an inexpensive centerpiece. Pretty much the only direction I got from her was that she wanted something Autumn-ish and romantic. Here's what I came up with:
There will be fresh flowers on the table as well that I don't have in that picture but here's a general idea of what those will look like:
The centerpiece was constructed from things I got at the dollar store:
The neat depth you can see is from painting the OPPOSITE side of the glass so that when you look at it you look through the glass to the color.  The rocks are simply those bags of river rocks from the Dollar Tree painted gold.
And a LOT of gold paint....

Just a note: I wanted to be able to put a tealight inside the centerpiece so the goblet is glued to the candle plate and the dinner plate is glued to the bowl. I attached a goblet opening sized cardboard ring to the bottom of the bowl (hot glue) so when sitting in the goblet, it will remain centered and be a bit more sturdy.  This allowed me to put a tealight (battery operated) in the goblet so it shines through the centerpiece.  I also put red silk flowers inside the bowl for just a tiny bit of extra color.

I embellished the plate a bit (the devil is in the details!)
The tissue paper and tulle flowers add texture and another little detail at a very low cost!
A tissue paper luminary. These are great especially if your venue doesn't let you use real candles. Simply insert a battery operated tealight. Tutorial here.  There will be several of them in various sizes and colors on the table.
I used a dark red yarn rather than the traditional pipe cleaner to make the tissue flower then simply tied it around a rolled up napkin. You could get more creative with the napkin folding and certainly utilize these in other ways too.
More texture is added to the centerpiece by mixing silks with the tissue flowers.  There is also a battery operated tealight inside the goblet part of the centerpiece for a little extra light.

My thumb tack pumpkin and apple (what says autumn like fall harvests!)
Tutorial here.

For the table scatter (just a little extra something)
The apple is decoupaged with tissue paper then I just added some pattern and interest with thumb tacks. Along with some silk Autumn colored leaves this adds a lot of interest and color to the table.
The guest favor boxes.  Not sure what she's going to want to put in them just yet, but I'm thinking some gold foil wrapped chocolate.  The box is made out of all those left over thumb tack boxes....tutorial here.

I've done some calculations and it will cost about $31 for the fully decorated table.  Not terrible at all for all the elements and embellishments involved!  And I certainly feel like no one will know it was made with pretty much everything from the Dollar Tree!

We'll certainly be having a bridesmaid craft party at some point or another since the craft time is about 4 hours per table. Good thing we have a year to go!

I have more to come as far as ideas for crafting this wedding, but this was my starting point. So, of course, check back for more to come!

What I used:

Dollar Tree Supplies:
Cut Glass Goblet, Plate, and Bowl. (Extra goblets for flowers)
Candle Plate
River Rocks
Foam apples and pumpkins
Thumb Tacks (Tons and tons of them... and apple takes 1.5 - 2 boxes (300 ct) and a pumpkin takes 3)
Tissue Paper
Popsicle Sticks
Silk Flowers and Leaves
Battery Operated Tealights
Yarn
Tulle
Glitter
White glue

Non Dollar Tree items:
Spray paint
Strong Glue (I like Gorilla Glue)


Thursday, August 9, 2012

Lovely Paper luminary -or- Is it too early to be thinking about Christmas crafts?

This started out as an idea for lighting a table at my friends wedding.  But seriously...I'm thinking I'll be making some of these for myself as holiday decorations!

I love paper lanterns!  They are also super easy and extremely cheap to make!

Here's what you need:

16 even pieces of wood (I used popcicle sticks, but you could use just about anything to construct these of all sizes I suppose.
Glue gun and hot glue
Elmers (or any white craft glue)
Tissue paper
Paper flower (optional...you could put whatever you wanted on the top or nothing at all!)

Start by assembling the box with hot glue (assemble two ends first)


 Begin gluing on the pieces that will connect the two ends, you will have to hold them in place for a few seconds while the glue sets.


 Connect the two ends to form your box.

I added "paneling" then to the corners of the sides so when the light shines through it looks even.
Once your box is assembled and the glue is set, grab whatever tissue paper you plan on using. I'm making mine with gold tissue paper.
Make sure you use a piece about twice as wide as your box and long enough to wrap around the whole box.

Using your white glue, align and glue the tissue paper to the first side.  Now, find something else to do while you wait for the glue to FULLY DRY.

Once dry, carefully begin wrapping the tissue paper around the box, gluing as you go.
Trim any excess and glue down the last side.

Use a small paintbrush dipped in the glue to "paint" down the edge of the paper.

Now for the top: (think gift wrapping!)


Now cut those triangles off (leave a little overlap in the paper so that when you glue it down the sticks don't show through)


Glue along those seams in the top
 Use your paint brush to spread out the glue. Add more glue and "paint" all of the sides with it.  Remember, allow each side to dry before moving on to another.  When wet the tissue paper can tear easily.
 Once dry, add an embellishment to the top (or not!), insert a light and admire!
I'm thinking a whole bunch of these in various sizes grouped together (like presents!) would make a great centerpiece or coffee table decoration for the holidays.
Made in a Day

Monday, August 6, 2012

Now Introducing: My Ugly Dining Room...(aka Naptime Redecorating Part 1)

So my husband and I bought a new house last year after realizing the 1100 sq. ft. home we lived in was simply not working for us anymore.  With our daughter beginning to move around like crazy, we started looking...and we kept looking for about 6 months until we finally found and closed on the house we now live in.

There are a lot of great things about this house (otherwise, why would we have bought it, right?).  But, it had definitely been decorated in the 80's (and not well - even for the 80's, in my opinion) and then never touched again.

My husband, who is not a big fan of change, has managed to keep me from starting any projects for almost a year, until now that is.

The first room in the house redo will be (and has always been in my mind) the dining room.  Now I hate the decor in this room so much, that typically when people come over I have the lights off and I casually exclude it from the tour...sometimes I flip the light on and make a joke about the "pepto bismal and puke" color scheme.  We don't eat in it, and it's not because we don't want to...it's because I can't stand looking at it.

So here it goes, the beginning of my journey into making this house our home.

My first step was to do a little furniture rearranging so see what I was working with.  Essentially, I wanted to fix the problem that when anyone was sitting at the ends of the table, you had quite a hard time getting to your seat on the other side of the table...

Ok, much better and tons of opened up space now! I could even bring food in from the kitchen without dropping it on the unlucky soul who chose the end seat as I climbed over them getting in from the kitchen doorway (on the left).  The only problem I have now is that the pink is more visible....

So, let's see what we have here to work with (and against) in this room.


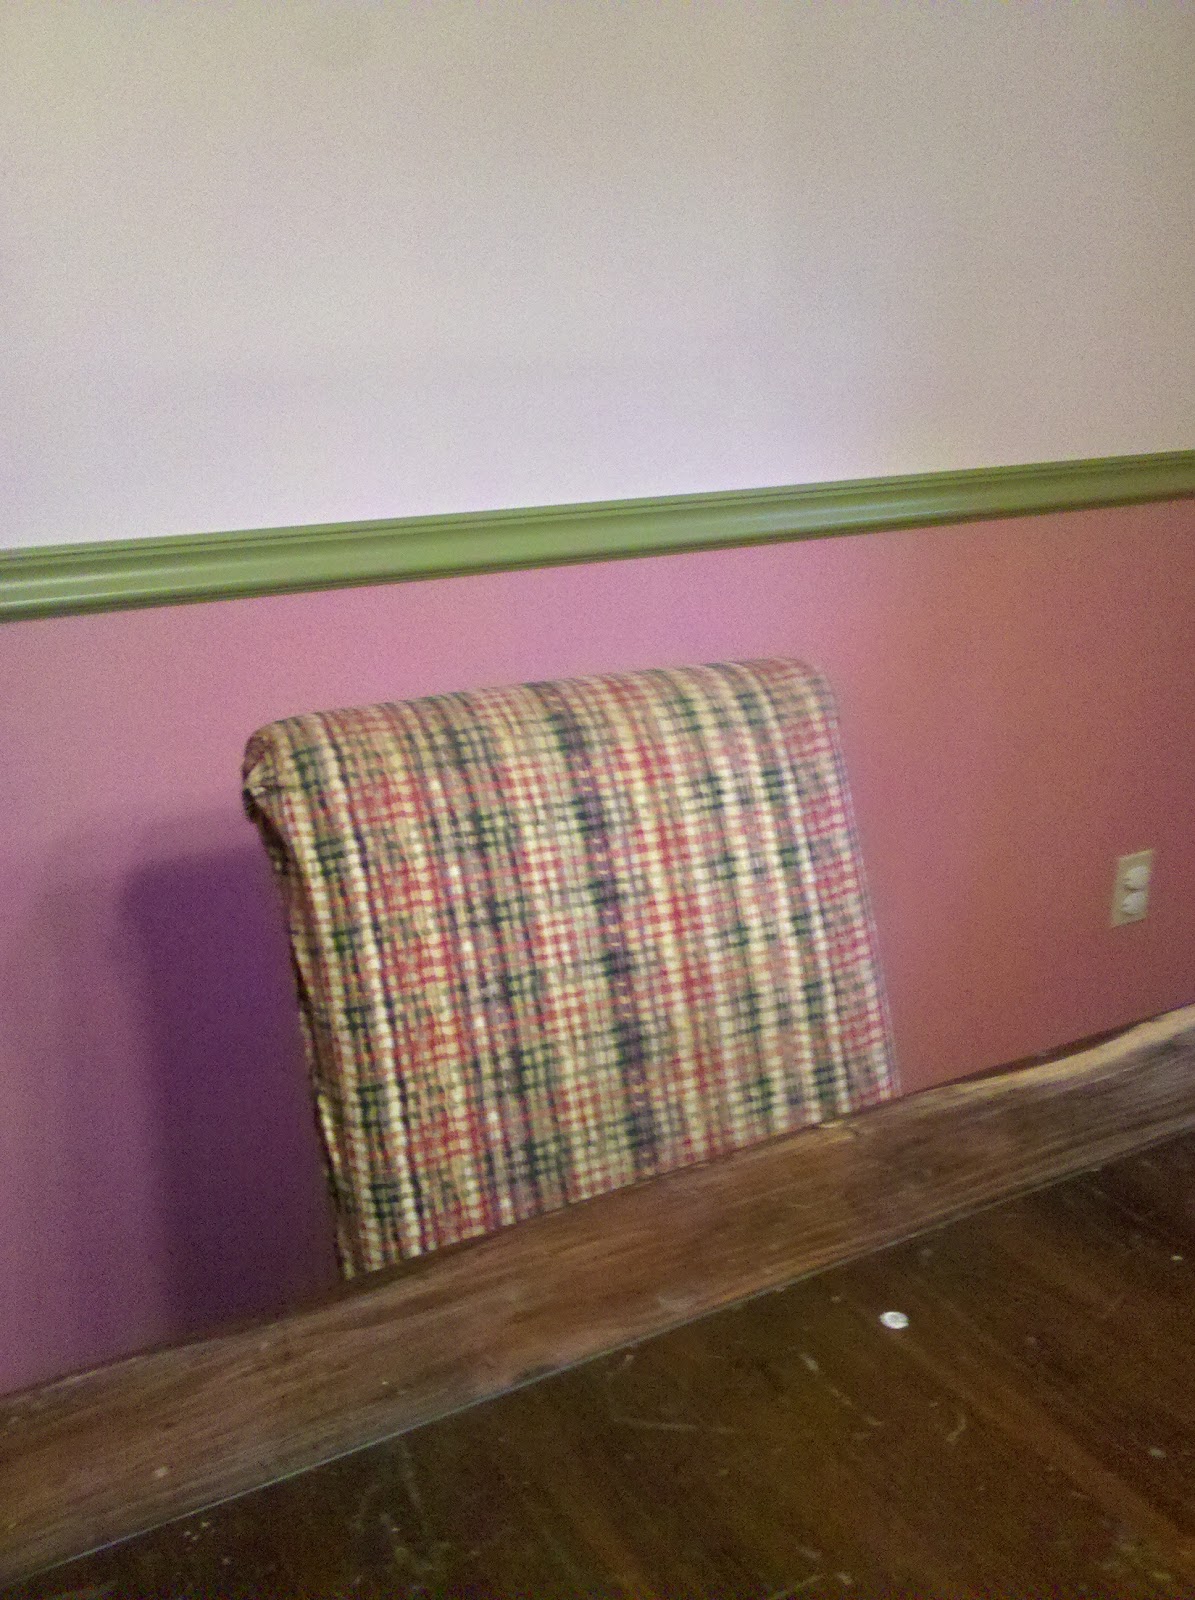
1. The pink and green.  It must go. It must go now.

FIX:  Serious painting. 

2.  Speaking of which, the upholstery on my captains chairs is terrible... 

I found them at a yard sale for $5 for the pair.  Totally worth it! Especially since I had no dining room chairs.....And I just now realized that these chairs match the pink and green pretty well.  That's kinda random.

The other 4 chairs i have arent horrible, but they don't match.  They actually go with the table that I use in my breakfast room.  

FIX:  Since I cant afford new chairs, slipcovers were the way to go here for me. I used some Kohl's cash I had and a good sale and scored a great deal on these Sure Fit Short Dining Chair Slipcover.

3.  My table has seen better days.
It was a beautiful table at one point.  My mom bought it in the 70s and has been dragging (sometimes literally...it's heavy!) it though our numerous moves from house to house.  I'm afraid my brother and I were also pretty rough on it over the years.  A few years back she gave it to me and I've been wanting to refinish it ever since.

FIX:  Sanding, sanding, sanding and more sanding....then a bit of stain and polyurethane.

4.  This rug.


It came with the house and it's in good condition but it's definitely not my style.
FIX:  Hide it in the attic and sell it the next time we have a yard sale.

5.  This cute little garden window.


I love this window.  It's such a unique architecture feature in the room.  But right now it's just a strange little hole at an odd place on a pink wall. 


FIX:  Highlight the window somehow in the room design.
6.  The chandelier is ok...I guess.


I mean, I don't hate it but...well it's boring.

FIX:  I'm not sure yet. I think I will do the rest of the room first and decide on what needs to be done to it later.

7.  The humidistat.

It's old and unsightly. 

FIX:  I need to think of a creative (and cheap...don't forget cheap!) way to hide this thing....I'm open to ideas!

At this point, I've removed all of the chair rail and bottom molding.  It's looking way better already!

My goals during nap-times this week:

1.  Spackle Spackle Spackle!  There's a ton of nail holes to fill in now that I ripped all the molding off. 
2.  Begin sanding. The paint on there is rather glossy so in addition to sanding the spackle, I plan on sanding all the walls lightly.  I also need to begin sanding down the table.
3.  Painters tape to protect the floor.  I'll be taping newspaper down to the edges then using a tarp to cover the rest of the floor. 

Expenses so far:
Slip-covers - $50
Paint - $85
A few random painting supplies: $4 <-- just a note, don't forget to check the dollar store...they actually have quite a few project supplies!  I found 9' x 12' painters tarps there as well as big packs of sandpaper.
Yard sale chairs - $5

Running total: $144

I feel like this might be a long week of prep work....